We all know the quote, “Rome wasn’t built in a day.” Well neither are our homes. Creating a space and a home authentic to you and your family takes time. I’m slowly learning and leaning into this truth. Patience doesn’t come naturally to me. I think many of us, or maybe even most of us could all use a little more patience in one aspect or another. But, we live in a culture where everyone wants instant gratification, even though deep down we know all good things take time. Time to nurture, time to build, time to grow…this home is teaching me that. When my husband bought our last house, he had time to fix it up and even after we were first married, it seemed as though we had all the time in the world to spend making our home unique to us. That’s just not the season of life we are in right now, there are bigger more important things that take priority right now and I’m okay with that…little by little our home will get there and every step of the way we will learn, grow and make memories in this little fixer upper of ours. Which brings me to today’s post. I have the pleasure to be teaming up with some of my best blogging buds to share a “Spring DIY Blog Hop” So when you’re done here, be sure to head on over to the other blogs to read all about their DIYs.
Please just know, this room is not perfect and far from complete, but I hope you enjoy what I have to share with you today!

The first DIY I want to share with you are these fun pillow covers. I’ve shared on IG before how I like to use fabric placemats to make simple and inexpensive pillow covers. I took that idea a little further and used these floral napkins and tea towel from the Hearth and Hand line at Target. For $15 I created 3 pillow covers and it only took me about 10 minutes to make. It doesn’t take much skill. Simply line your napkins up patterned sides facing each other and sew around three edges. Turn right side out and stuff your pillow in. I left the whole bottom open [like a pillow case and you’d never know it was open] I did the same with the tea towel for my longer pillow, except I only sewed along one edge [the long edge] and left the two sides open. Easy Peasy!

As you can see the baseboard and crown moulding has finally been installed, next up some caulking, sanding and we’ll be all ready for paint!

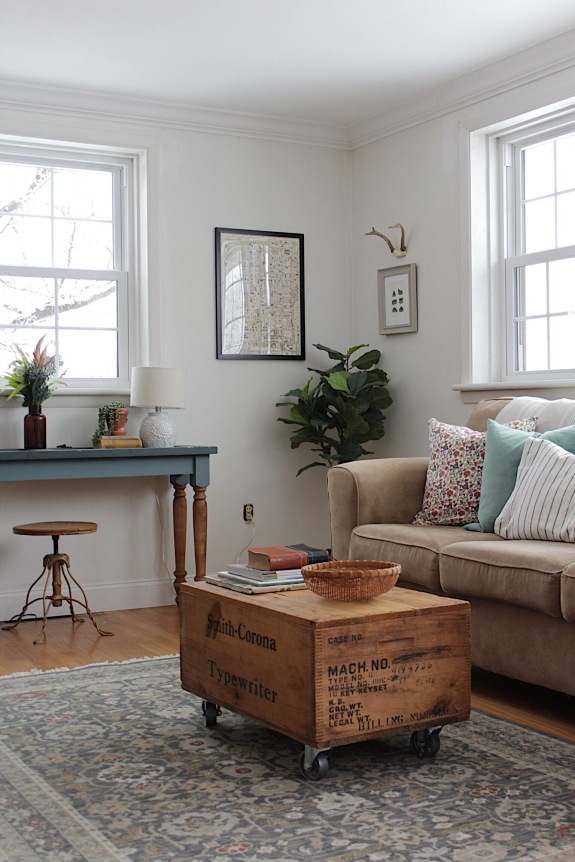
I found an old street map of Philadelphia in a book I thrifted a while back. I bought this frame from Target for $15 and I’m loving it in this room. Next to it, is our next DIY, that beautiful table. If you follow along on IG then you know we opted to paint over the teal blue on our fireplace wall. We decided to go with a creamy white wall and and bright white trim for this room. As excited as I am for all that white, I wanted to make sure I was still incorporating colors. I have a pair of old teal shutters that I thrifted last year just laying in our basement. I loved the teal color and was trying to think of how to incorporate them in this room. I really wanted something unique. After brainstorming I came up with the idea to make a table using one of the shutters. Because my husband is a saint, bless him, he gave me a hand with the hard part, assembling it! From my perspective it looked easy enough. We found these pretty wood legs at Lowes. Then Brandon, measured and cut our skirt for the table. We screwed the skirt onto the legs and then attached a brace at each corner. [I have that pictured below] He attached the shutter to the legs and skirt from the bottom with screws and ta-da, we had a table…a horrible tutorial, I’m sure. If you have specific questions just leave me some comments below and I’ll ask the professional  Next came my job, painting! I really had my heart set on creating a two tone piece. I didn’t want to lose the beautiful teal, however to save money we used wood we had on hand, which happened to be pre-primed. So staining the whole bottom wasn’t an option anymore. I remembered we had left over paint from the fireplace and even though it’s not an exact match, it’s pretty dang close and still allowed me to create a two tone effect!! I’d love to hear what you think? Scroll on down for more pictures!
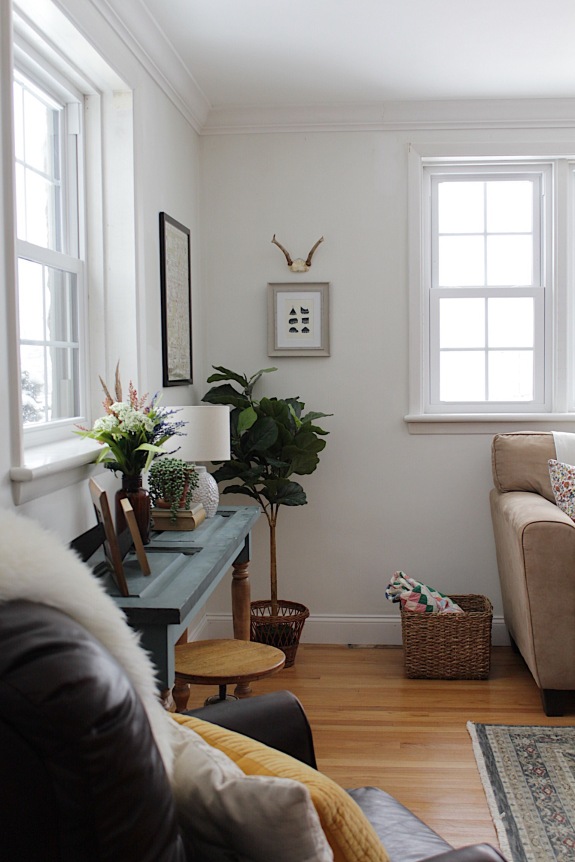

You can see the color isn’t a perfect match, but I really don’t mind it! It’s called Riverway from Sherwin Williams you can see it here.


A few little progress pictures below and a few more source links for you! Thanks so much for stopping by today, Friends! Remember to check out the other blogs, links are listed below! Blessings and Happy “almost” Spring!


Faux Fiddle // Lamp // Sheep Skin // Basket // Plum and Sparrow Basket – similar // Rug // Throw Blanket // Velvet Pillow Covers // Diffuser
Spring I DIYed That

A Cuter Tutor | The Homemaking Momma | Noting Grace
The Tattered Pew | Joy in Our Home

Little by Little Farmhouse | My 100 Year Old Home | Repurpose and Upcycle
Pennies From Heaven Home | Uniquely Taylor Made
Great post originally from The Homemaking Momma

